

How to Cut Wine Bottles!
How to Cut Glass Wine Bottles Perfectly!
There are SO many great DIY projects out there for cut wine bottles, but I’ve never found a good way to actually cut the bottles, so I’ve avoided all projects related to them! My husband has been feverishly working on finishing our basement (this happens every year right before Super Bowl) and I decided that instead of purchasing pendant lights, cut wine bottles would make great “industrial” style lighting above the bar. That meant that I absolutely had to find a way to cut the bottles perfectly.
After reading tons of articles online about the best ways to cut wine bottles, I came to the conclusion that the string in nail polish remover over the candle, the razor blade and the candle, and the diamond glass cutter were not the answer. Most of those articles have bad reviews, people stating that they tried each of the methods, mostly unsuccessfully. Enter the G2 Bottle Cutter.
The Bottle Cutter: G2 Bottle Cutter by Diamond Tech Crafts
I came across an article about this little tool, the G2 Bottle Cutter, and was amazed at how easy it seemed. Now, where to find it? Here! The perfect wine bottle cutter, the G2 Glass Wine Bottle Cutter. Well worth the investment! When you purchase the cutter, assembly is very confusing, because they don’t show you the final product while you’re putting it together. (see image) Follow the steps to assemble the cutter, and make sure that the cutter arm is at a strict 90 degree angle when held upright.

How to Cut Your Wine Bottles
Step 1: Fill a large pot with warm water.
This will be your bottle’s hot bath. Bring the water to a boil, and then reduce to a simmer. You can start this before you cut your bottle so that it is ready by the time your bottle is scored.

Step 2: Fill another large pot with cold water and add enough ice to cover the top of the water.
This will be your bottle’s cold bath. You will want this pot in very close relation to the hot bath for easy transfers.

Step 3: Using a wine bottle with the label removed, make a thin score line on the bottle.
(This is a great project to use your leftover bottles from the Wine Label Lamp Shade project!) Peel off any labels that are still on the bottles using a razor blade or I use my cook top cleaning razor.
- Put the top of the G2 cutter into the mouth of the bottle to stabilize it, and adjust the arms on the G2 Cutter so that the blade hits the bottle where you’d like it cut. Tighten all of the bolts to ensure that the arms are stable and in place.
- Holding your right hand over the stabilizing arm and the cutter, left hand on the bottle, touch the cutter with light pressure to the wine bottle.
- Slowly turn the wine bottle with your left hand, making sure to create as much of a continuous motion as possible. A thin score line will appear on the bottle (you should hear and see it).
- DO NOT continue to go over the score line once you have gone around the bottle. The thinner the line, the better. If you missed a spot, ONLY go back over that spot, not the rest of the line.
Step 4: With your score line in place, start your wine bottle in the warm bath.
- Place the bottle (scored line submerged) into the warm bath. Make sure that the score line is completely submerged, and leave it for about 5-8 seconds.
- Then move to the cold bath for 5-8 seconds.
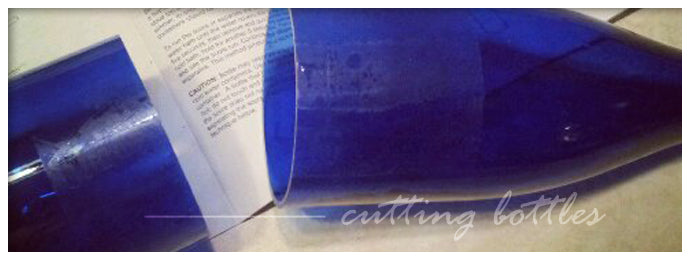
- Do this process repeatedly until your bottle breaks. You will hear and see it crack along the score line. Be gentle enough with the bottle through the transport between pots so as not to bang the bottle on the bottom or sides of the pots. The bottle will break completely in either the warm or cold bath, so make sure to have tongs handy in case it’s in the hot bath!

Step 5: Once your bottle breaks, clean up the edges with the provided sandpaper.
Using the sandpaper provided in the G2 Bottle Cutter package, go around the front and inside edges with the paper, knocking off any “burs” left from cutting. this will smooth the edges and give it a more finished look. Make sure you do this in an area that can be easily cleaned, such as over the sink, so that you don’t have shards of glass everywhere on your floor.
Step 6: Enjoy your success and continue on with your project!
I’ll be sure to share photos of my pendant lights over our bar as soon as I get the lights assembled with the lighting kits!